


Making sure your blog posts load fast is probably my number one technical SEO recommendation. It’s right up there with my overall number one SEO tip which is building brand reputation. With that said, I wanted to share how I set up the Jetpack plugin, a WordPress plugin that will help load pages faster, optimize images, and speed up your visitors’ experience and works great with Showit.
Pros and Cons of using the Jetpack plugin on your Showit blog
Pros
- Its developed by the largest WordPress company in the world, Automattic. This means you can expect a quality plugin with long term availability.
- There are built in website traffic and SEO tools
- Optimize and serve images from WordPress servers around the world
- One click enable Lazy Loading for images
- One click security features
- Options that are toggled off are ignored and do not add code to your site
Cons
- There are lots of options and the plugin settings page can seem overwhelming.
Installing the Jetpack plugin on your Showit blog
Already have Jetpack installed, Skip to Jetpack settings here.
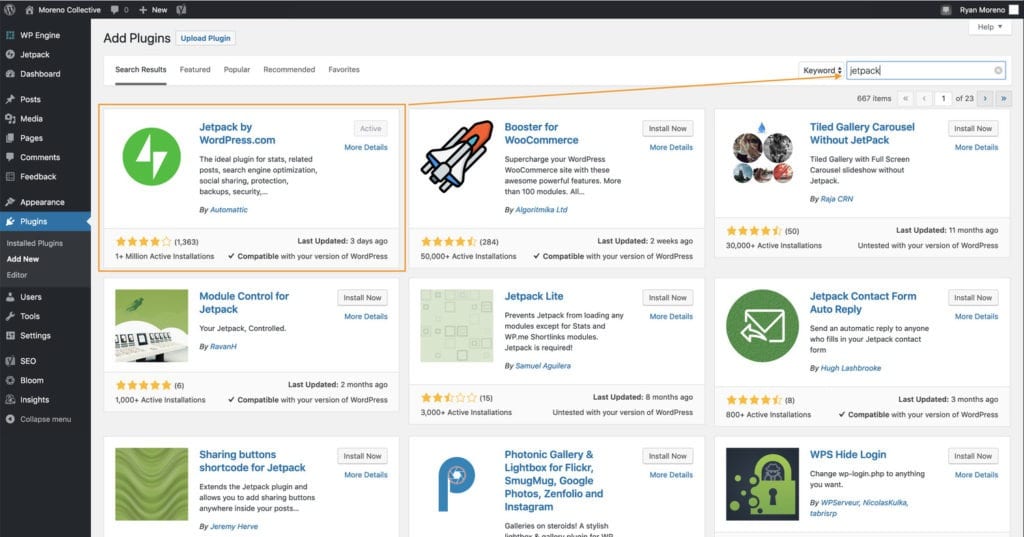
The Jetpack plugin is automatically installed on your Showit blog when you have them setup your blog. If you’re a tier 3 account with the ability to upload your own WordPress plugins, then you’ll want to go ahead and install the Jetpack plugin by clicking on Plugins > Add New and searching for “Jetpack”.
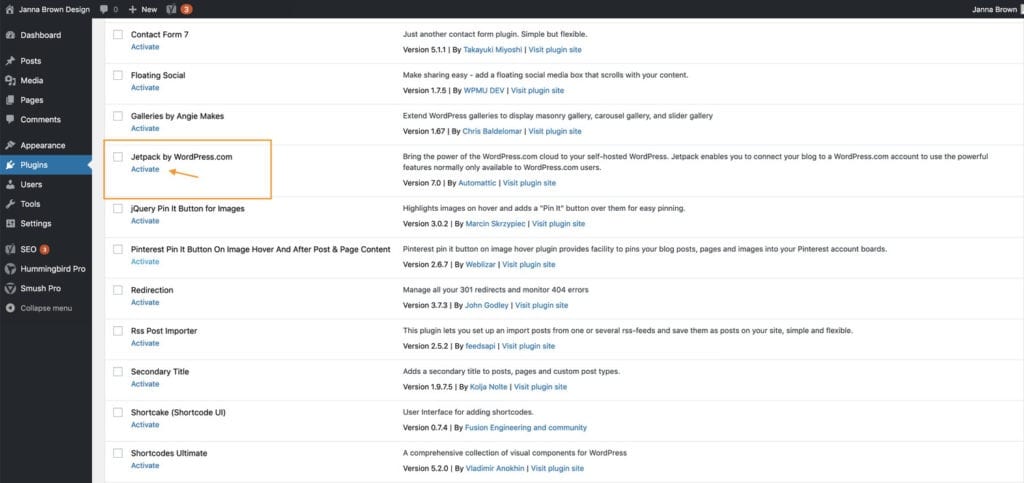
Once the plugin is installed, activate the plugin from the “installed plugins” page.
Jetpack will then load their welcome page where you will see a green “Set up Jetpack” button. This button will bring you to a page where you will need to create your wordpress.com account, which is different than your normal wordpress blog login.

Now that you’ve signed up, you’re ready to enable the best settings that will help load your pages faster, optimize your images, and speed up your visitors’ experience!
4 Jetpack plugin settings that will speed up your blog and better your SEO
First,

We’re now ready to start toggling the 4 most important Jetpack plugin settings we need to increase our blog’s performance.
Performance tab
There are 4 main toggles that will play the biggest role in boosting your sites performance and SEO which we will go over first. The rest of Jetpack’s settings are optional and only recommended if absolutely necessary.
Performance & speed
Under the “Performance & speed” section, toggle everything (Enable site accelerator, Speed up image load times, Speed up static file load times, and Enable Lazy Loading for images).

The “Speed up image load times” and “Speed up static file load times” will allow your images and static files to be served to your visitor by a server close to where your visitor is viewing your blog from.
These settings will allow jetpack to save a copy of your blog post on servers around the world so that when someone in, lets say, england views your blog post, a server in england will serve them the files, rather than a server in the United States. This will speed up your website load time dramatically.
The Enable Lazy Loading for images setting makes your images load as the viewer scrolls down your blog post. This helps speed up the initial load time especially if you are posting a post with 10+ images as the visitor does not have to load all 10+ images at once, rather as they scroll down.
These 4 toggles combined with an image optimization plugin can greatly reduce your page load time, increasing your blog’s performance and SEO.
Optional Jetpack plugin settings I’ve used before
These next settings are great, but I would suggest only toggling them if they serve a greater purpose than, “thats a cool feature”. Every feature you use adds code to your website. The more code on your website, the longer it takes for your website to load.
Performance tab
Media
The “Display images in a full-screen carousel gallery” toggle will make any images that are set to “link to attachment page” in your wordpress blog post pop open in a sliding gallery when clicked.
This option is purely optional. I recommend not using it unless you really love it. If you’re a photographer loading a lot of images it could be a great option for your visitor as they could view your images by scrolling down or clicking through one by one.

Discussion tab
Comments
‘Let readers use WordPress.com, Twitter, Facebook, or Google+ accounts to comment’

This setting replaces the standard WordPress comments section at the bottom of your blog post, to a more modern looking comment box that allows user to comment using their Facebook, Google, WordPress, or Twitter account.
The only thing about this feature is that the “Post Comment” button is a bit plain. But in my opinion it beats the default
Default WordPress comments form

Jetpack’s comments form

Traffic tab
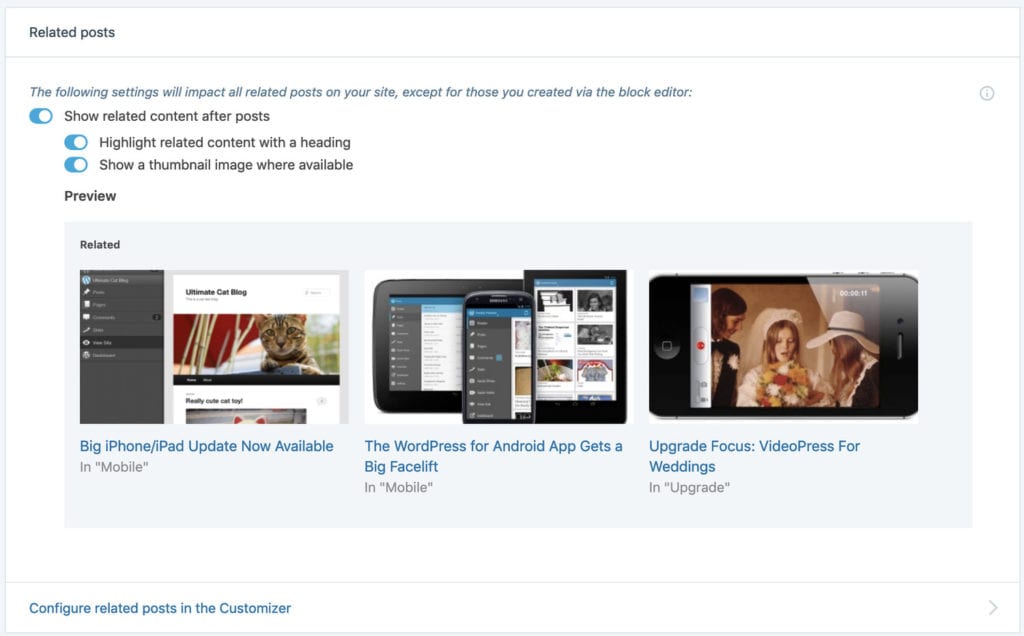
Related posts
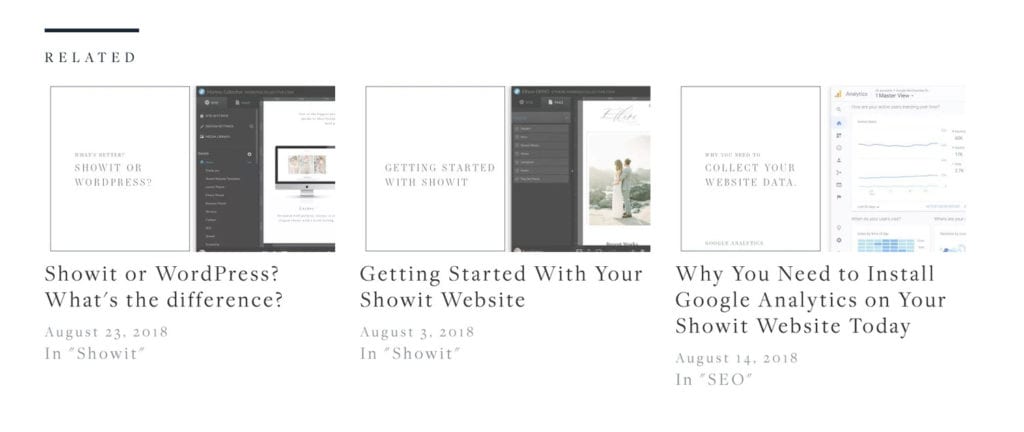
Toggling related posts can really enhance your user’s experience leading to better SEO. Google ranks your website based off of many factors, one of which is bounce rate (and more recently pogo sticking).
To keep this short, basically, Google will catch on if everyone visiting your website clicks the back button rather than exploring more (bouncing) and continuing to search for the same keyword your post is ranked for (pogo-sticking). An easy way for you to get your visitors to stay on your website and explore more is to add a related post section to the bottom of each blog post.
Jetpack Settings I recommend toggling off
Settings that are toggled but not needed can harm your websites SEO. If you see any settings that I have not mentioned it is because I recommend not using them and keeping them turned off. Settings that are turned off do not add any code to your website and will be ignored.
These Jetpack settings include:
- Custom content types
- Theme enhancements
- Post by email
- WordPress.com toolbar
- Composing
- Publicize connections
- Sharing buttons
- Like buttons
- Sitemaps (use Yoast)
- Downtime monitoring (use Pingdom)
- WordPress.com log in
How to deactivate all unused Jetpack Plugin settings
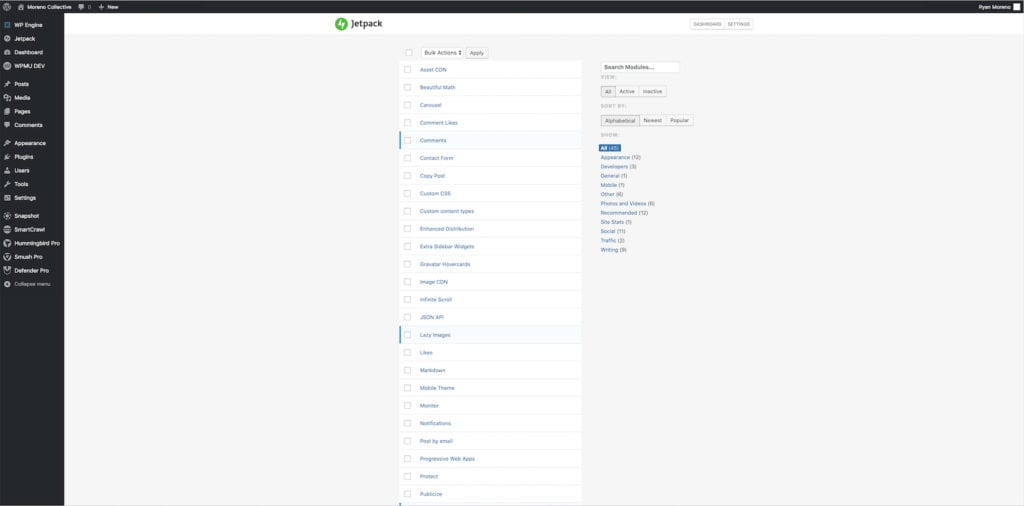
In the left side of your WordPress dashboard, Click on Jetpack -> Settings and then scroll to the very bottom and click “debug”. Next, click on the link that says “Access the full list of Jetpack modules available on your site”.
It is a good idea to go through and deactivate any settings that you are not using, including Beautiful Math, Custom CSS, Contact form, etc.
Conclusion
As mentioned above, utilizing the Jetpack plugin site accelerator and lazy loading settings can really boost your sites performance and SEO. Using Jetpack’s comments and image carousel can improve on your website UI as well. Pair this with a great image optimization plugin and you’re ready to start blogging without worries!
Need help with your SEO?
We’re here to share all of our SEO secrets with you, but we also understand that you may not have the time to optimize your website’s performance. That’s where we can help you out.
If you need help with your website performance and SEO, let us know!
Feb 18, 2019

Ryan Moreno
Post by:
//