


In this post, I will go over how to create a WordPress blog post and how to create galleries within your post.
Remember: When creating a blog post in WordPress it is important to upload web-sized images.
How to create a blog post
- Login to your WordPress admin account by going to “yourdomain.com/wp-admin/” (you may be redirected to your homepage, if so, just add /wp-admin/ to the end of your domain again and it will take you to the dashboard
- Once logged in, hover over ‘post’ in the left side navigation and select ‘Add New’.
- Add your post title, post content, and your featured image.
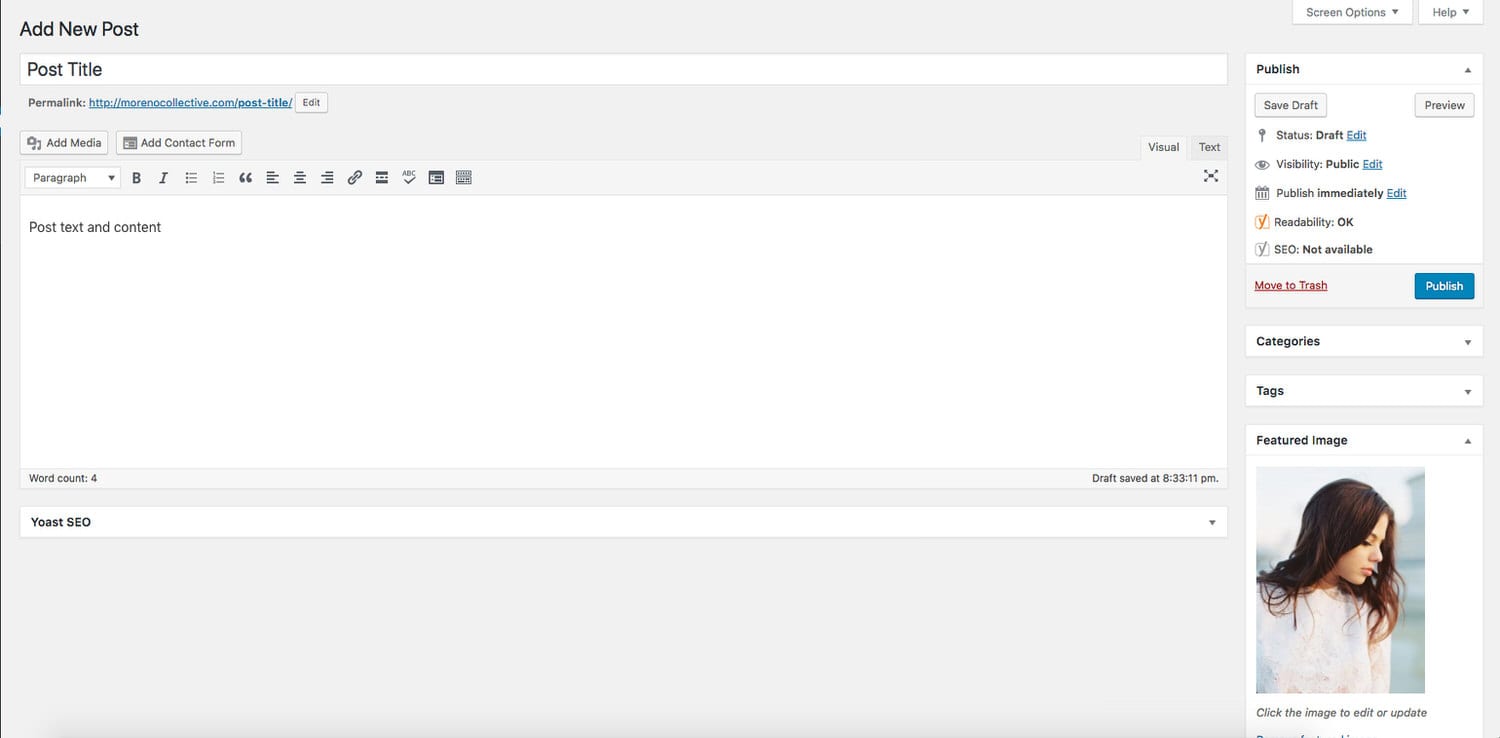
- After you write your post content, press ‘enter’ (return) on your keyboard to jump down to a new line. This is where you will place your gallery.
How to add an image gallery to your blog post
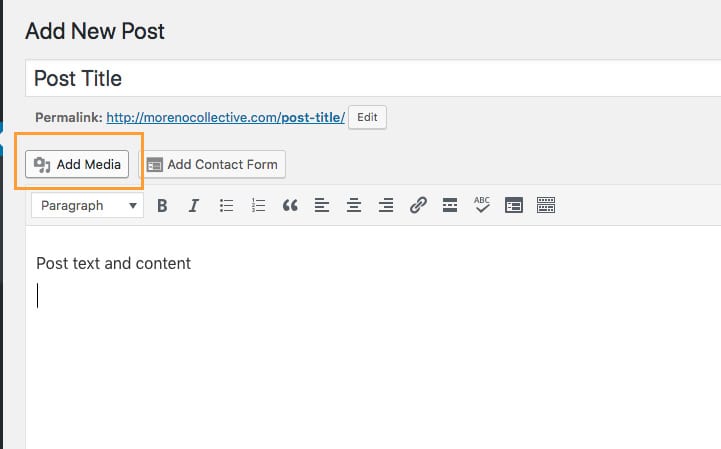
- To create your gallery of images, click the ‘add media’ button above your post content area.
- Once the media window opens, click ‘Create Gallery’ on the left-hand side.
- Click on ‘Upload Files’, select and upload the optimized images you want to insert into your post.
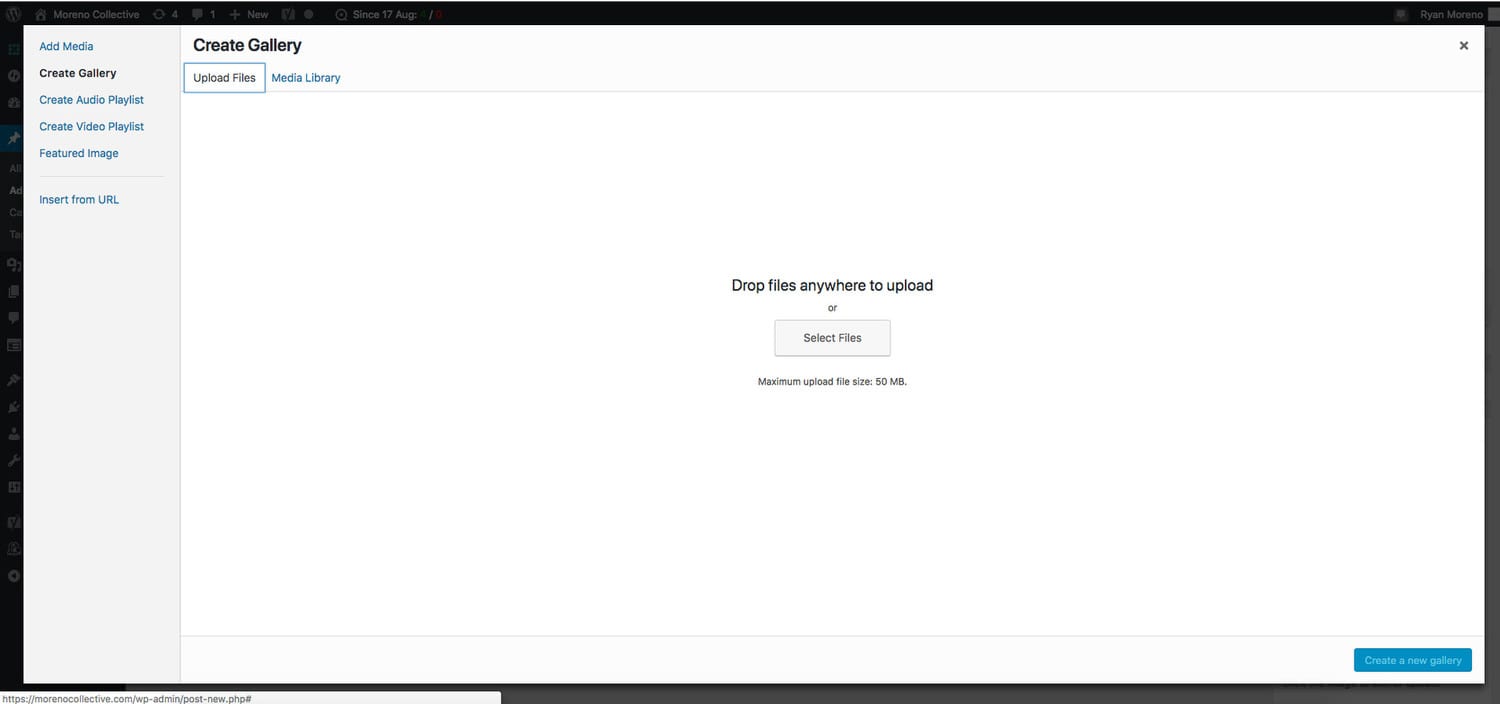
- Once your images are done uploading select the blue ‘Create a new gallery’ button at the bottom.
- Rearrange your images by dragging and dropping.
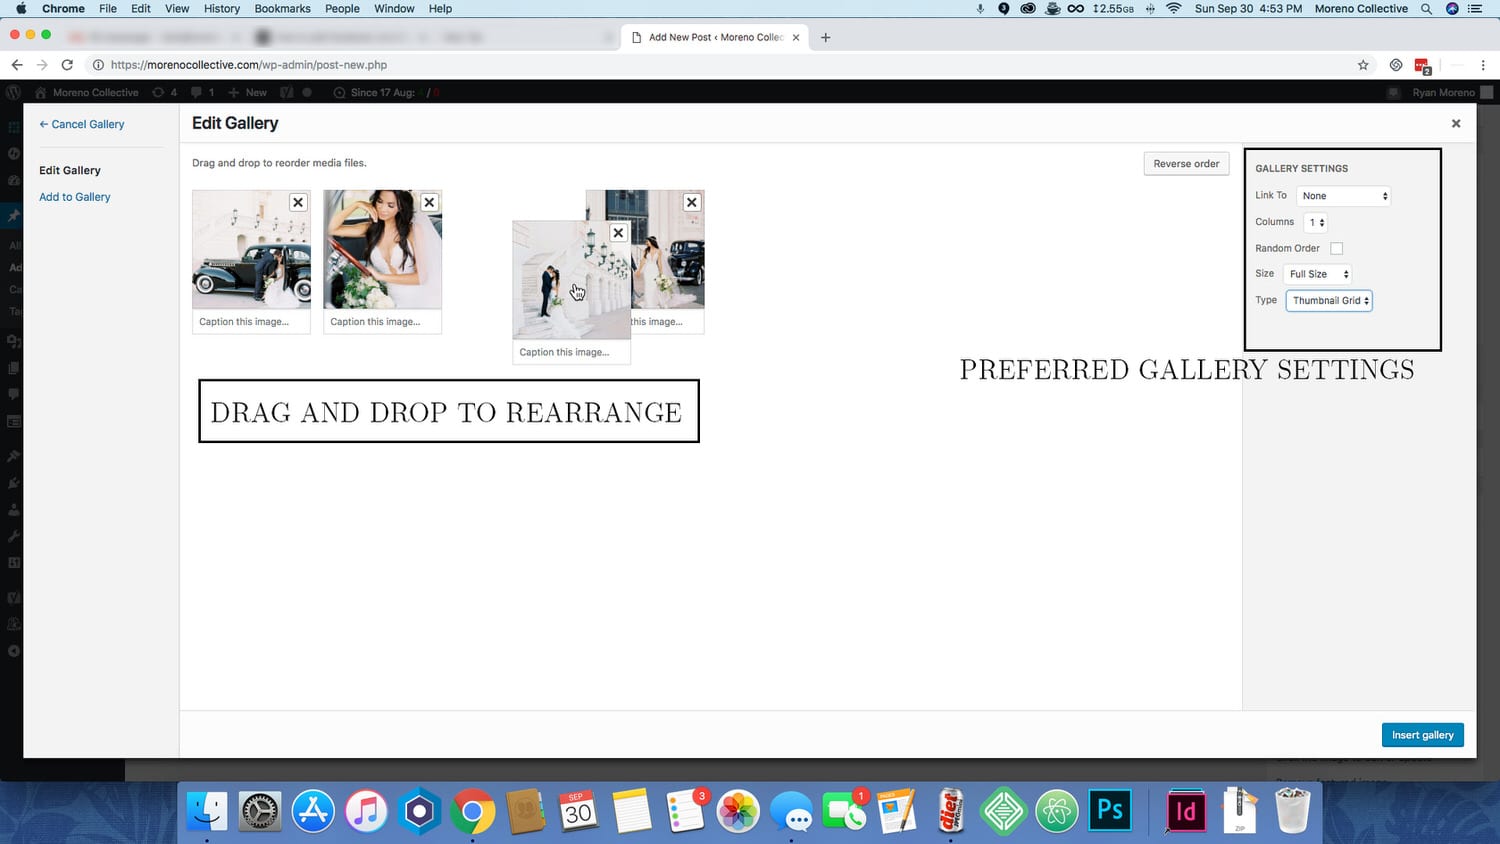
- Set your desired gallery settings. My preferred gallery settings are:
- Link to: None Size:
- Full Size
- Columns: 1
- Random Order: unchecked
- Click ‘Insert Gallery’.
- Select (or create) the categories and tags you want to apply to the post.
- Click ‘Publish’.
Nov 12, 2017

Ryan Moreno
Post by:
//